
Papercraft Object Process 2

 First I scaled up my apple in Rhino to what I felt was an appropriate size. I’ve decided now that I want to try something larger, but the size I set it to for this prototype was about two inches in diameter. 


I bought colored card stock and separated each unwrapped layer in order to print. Then I discovered that my printer would not print on card stock and a trip to Staples was just as unsuccessful. So, I didn’t know how to proceed. I decided to just make an accurately scaled prototype of this type, having to try again in color on the next one. I’m still unsure how to approach the differently colored sections.


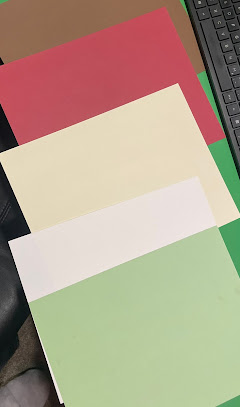
I tried to trace the patterns from plain card stock onto the different colors, but my tracing paper didn’t leave much of a mark and was imprecise. I have to experiment with cutting out individual sections of the apple to attach to the rolled and taped version or finding some way to print on colored card stock.  


So far I’m mostly satisfied with this prototype, but I need to fix a few things. I need to find a better way to attach the stem to the apple and the leaf to the stem. I hadn’t considered the difficult shape of those areas for long on my original model. I’m also going to rescale a few individual sections, such as the interior of the apple’s cross-section. I need it a little larger.

Comments

Popular posts from this blog

Final Papercraft Object

  My object is an apple / apple slices filled with teeth. Aside from being a creepy concept, it reminds me of one of a childhood memory of the first tooth I remember losing, which came out after I tried to eat an apple. I was never a big fan of apples after that.  The initial prototypes for my object were a lot smaller and a little more complex. I had to abandon one aspect of the original idea: the leaf. Between prototypes, even though I tried to make it work by modelling it differently in rhino, I couldn’t figure out a way to attach the leaf, so it lost a little detail but I think that the stem alone works. As I progressed my models got a larger and more stable. My final model had me split the top and bottom halves of the apple in two, because it was that much larger when unwrapped than my original.  Final Object Unwrapped Templates: Final Object Renders:

Experimentation with Trace and Unroll

 In the above images, I practiced using the Trace and Unroll functions to create simple geometric shapes. I used as many basic shapes as I could think of, but the objects highlighted in red are examples of ones that did not unwrap cleanly. This was a good exercise in finding out when unwrapping will and won't work easily.